Biaxial glaze tests.
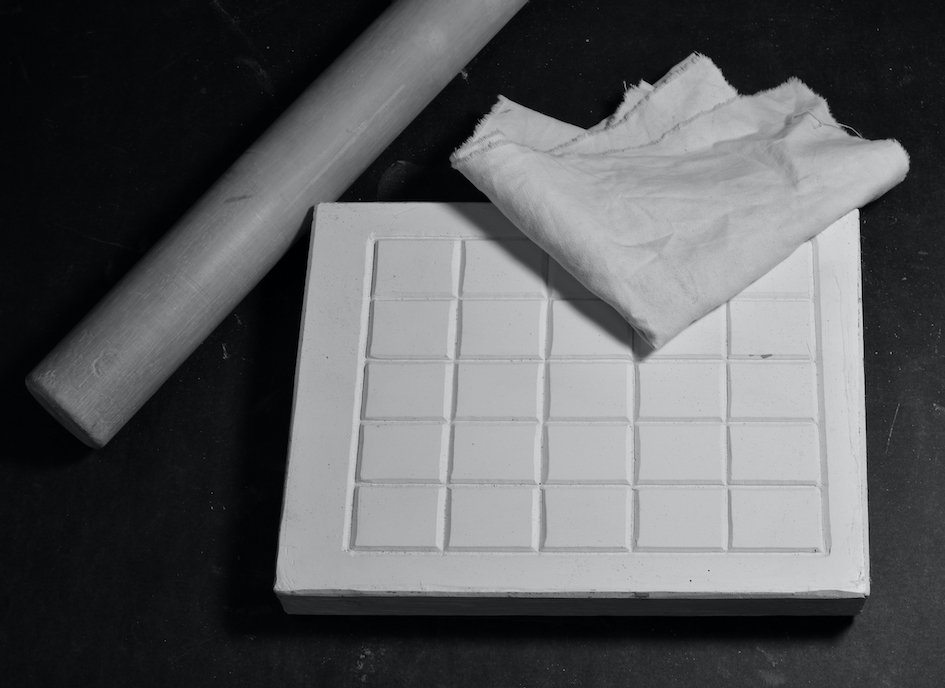
I'm using the enforced lonely time in the workshop to do various things, including expanding the testing of clays and rocks that I have recently collected. I have a slab of plaster that I have scored with a grid of 25 squares.
The size of the squares is up to you but they need to be large enough to see the glaze quality but not so large that they take a lot of glaze to fill Mine are 4 x 3cm for my rock glazes and 4 x 4cm for commercial materials.
The lines are drawn on in pencil and then.scored in using a lino cutting tool and a steel ruler.


Either roll out a slab slightly thicker than you want the tile to end up, with an area around that of the mould -
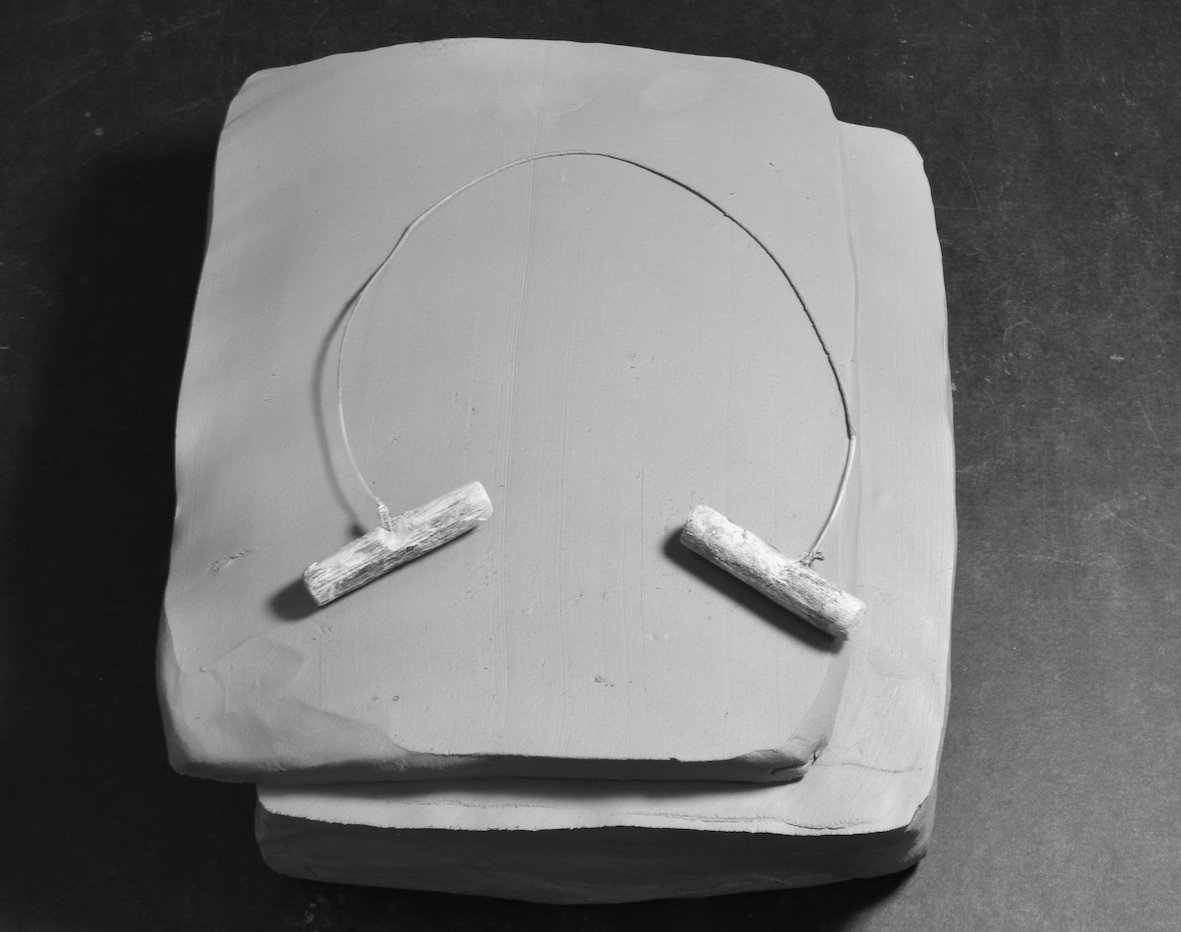
or, if you are planning on making multiple tiles, prepare a block of clay and cut slices from it (as shown the left).

Use a rolling pin to press the slab very firmly over the plaster mould in all 4 directions. You might need a piece of material on top of the clay to stop it sticking to the rolling pin.
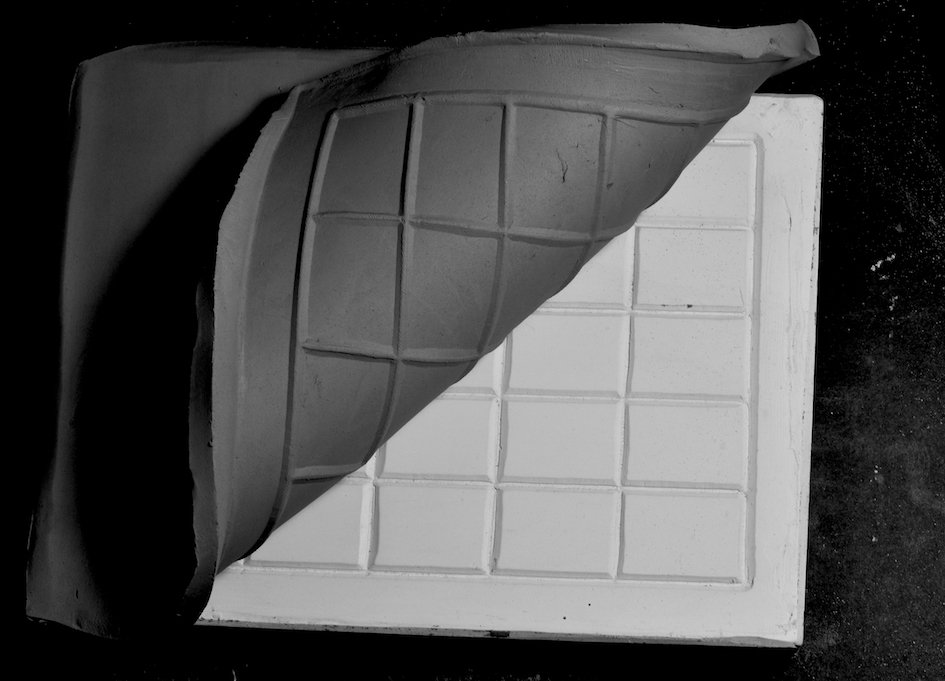
This image shows the impression of the grid on the tile, which needs to be deep enough to contain the individual glazes. (Don't bend your own tile back like this as clay has a memory and will warp on drying.


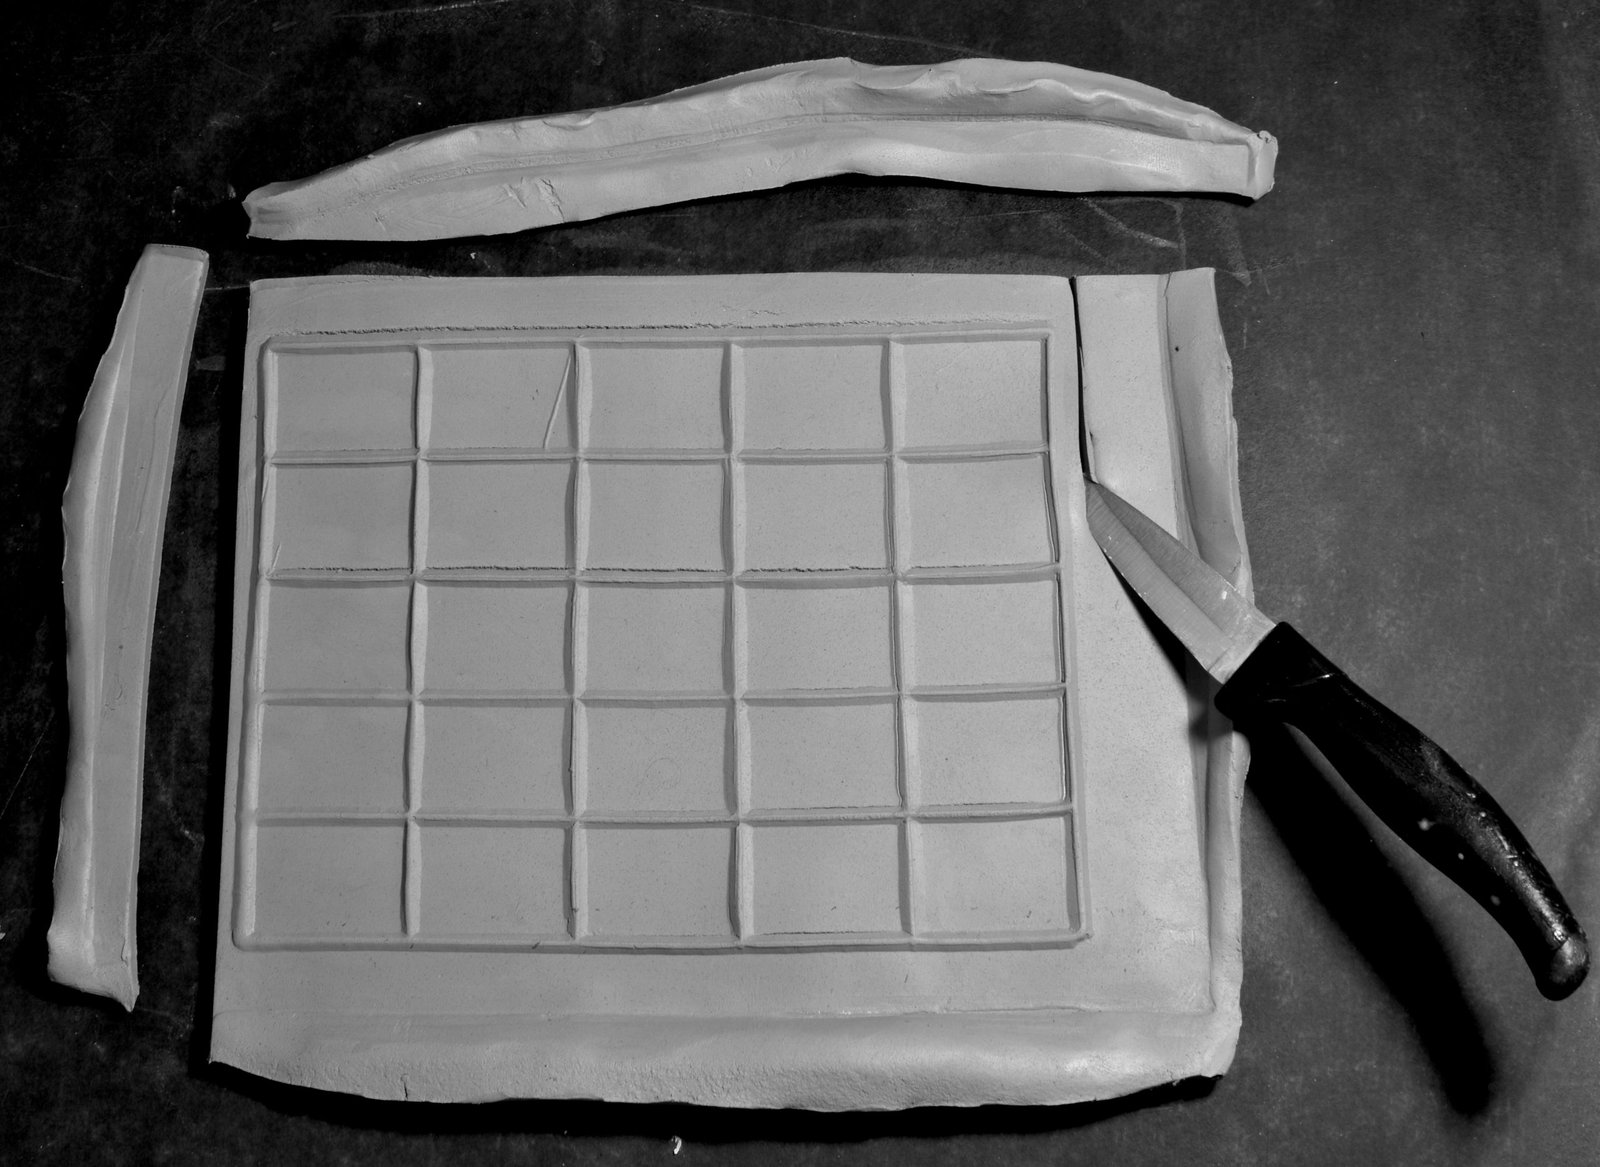
Carefully peel off the clay tile and place it on an absorbent surface like a wooden board. Cut away the excess clay but make sure you leave enough to mark the tile with the glaze test details.
I use the same mould to make lineblend tests, just pressing a smaller strip of clay along a 5 square section of the plaster mould.
Happy testing!